Ansible Semaphore는 ansible-tower or ansible AWX와 같은 ansible을 관리 편의를 위해 제공하는 오픈소스 입니다.
Ansible AWX가 semaphore보다 기능도 많고 좋은점들이 있지만,
Minikube, kubernetes 등을 알아야 한다는 진입장벽이 있어서,
우선 쉽고 빠르게 구성하고, 사용해볼 수 있는 ansible semaphore를 구축하여 사용해보고자 합니다.
Ansible semaphore install Docs
https://docs.ansible-semaphore.com/administration-guide/installation
Ansible semaphore github
https://github.com/ansible-semaphore/semaphore
Ansible Semaphore Prerequisites
- MySQL / MariaDB : MySQL >= 5.6.4 / MariaDB >= 5.3
- Ansible : Ansible in $Path
- GIT : Git >= 2.x in $Path
저는 아래의 버전으로 설치를 진행합니다.
| MariaDB | 10.7.3 |
| GIT | 2.34.1 |
| Ansible | 2.9.27 |
| semaphore | 2.8.53 |
Install 순서.
(1~3번은 사전설치로 순서가 상관 없습니다)
- Ansible 설치
- Git 설치
- MariaDB설치
- Semaphore 설치
Ansible 설치
Yum epel repo 추가
# yum install epel-releaseAnsible 설치
# yum install ansible
Ansible Version 확인
# ansible --version
GIT 2.x 이상 설치
현재 git 버전 확인
# git version
기존 git 삭제
# yum remove git
# yum remove git-*
Add EndPoint CentOS 7 Repo
# yum install https://packages.endpointdev.com/rhel/7/os/x86_64/endpoint-repo.x86_64.rpm
Install Git 2.X
# yum install git
Git Version Check
# git --version
MariaDB 설치
MariaDB Repo Setup
# wget https://downloads.mariadb.com/MariaDB/mariadb_repo_setup
(Proxy 상황이라면, wget -e use_proxy=yes -e https_proxy=<proxy ip>:<port> https://downloads.mariadb.com/MariaDB/mariadb_repo_setup)

MariaDB Repo 설치
# chmod +x mariadb_repo_setup
# ./mariadb_repo_setup
Install MariaDB Server
# yum install MariaDB-server
MariaDB Server 버전 확인
# rpm -qi MariaDB-server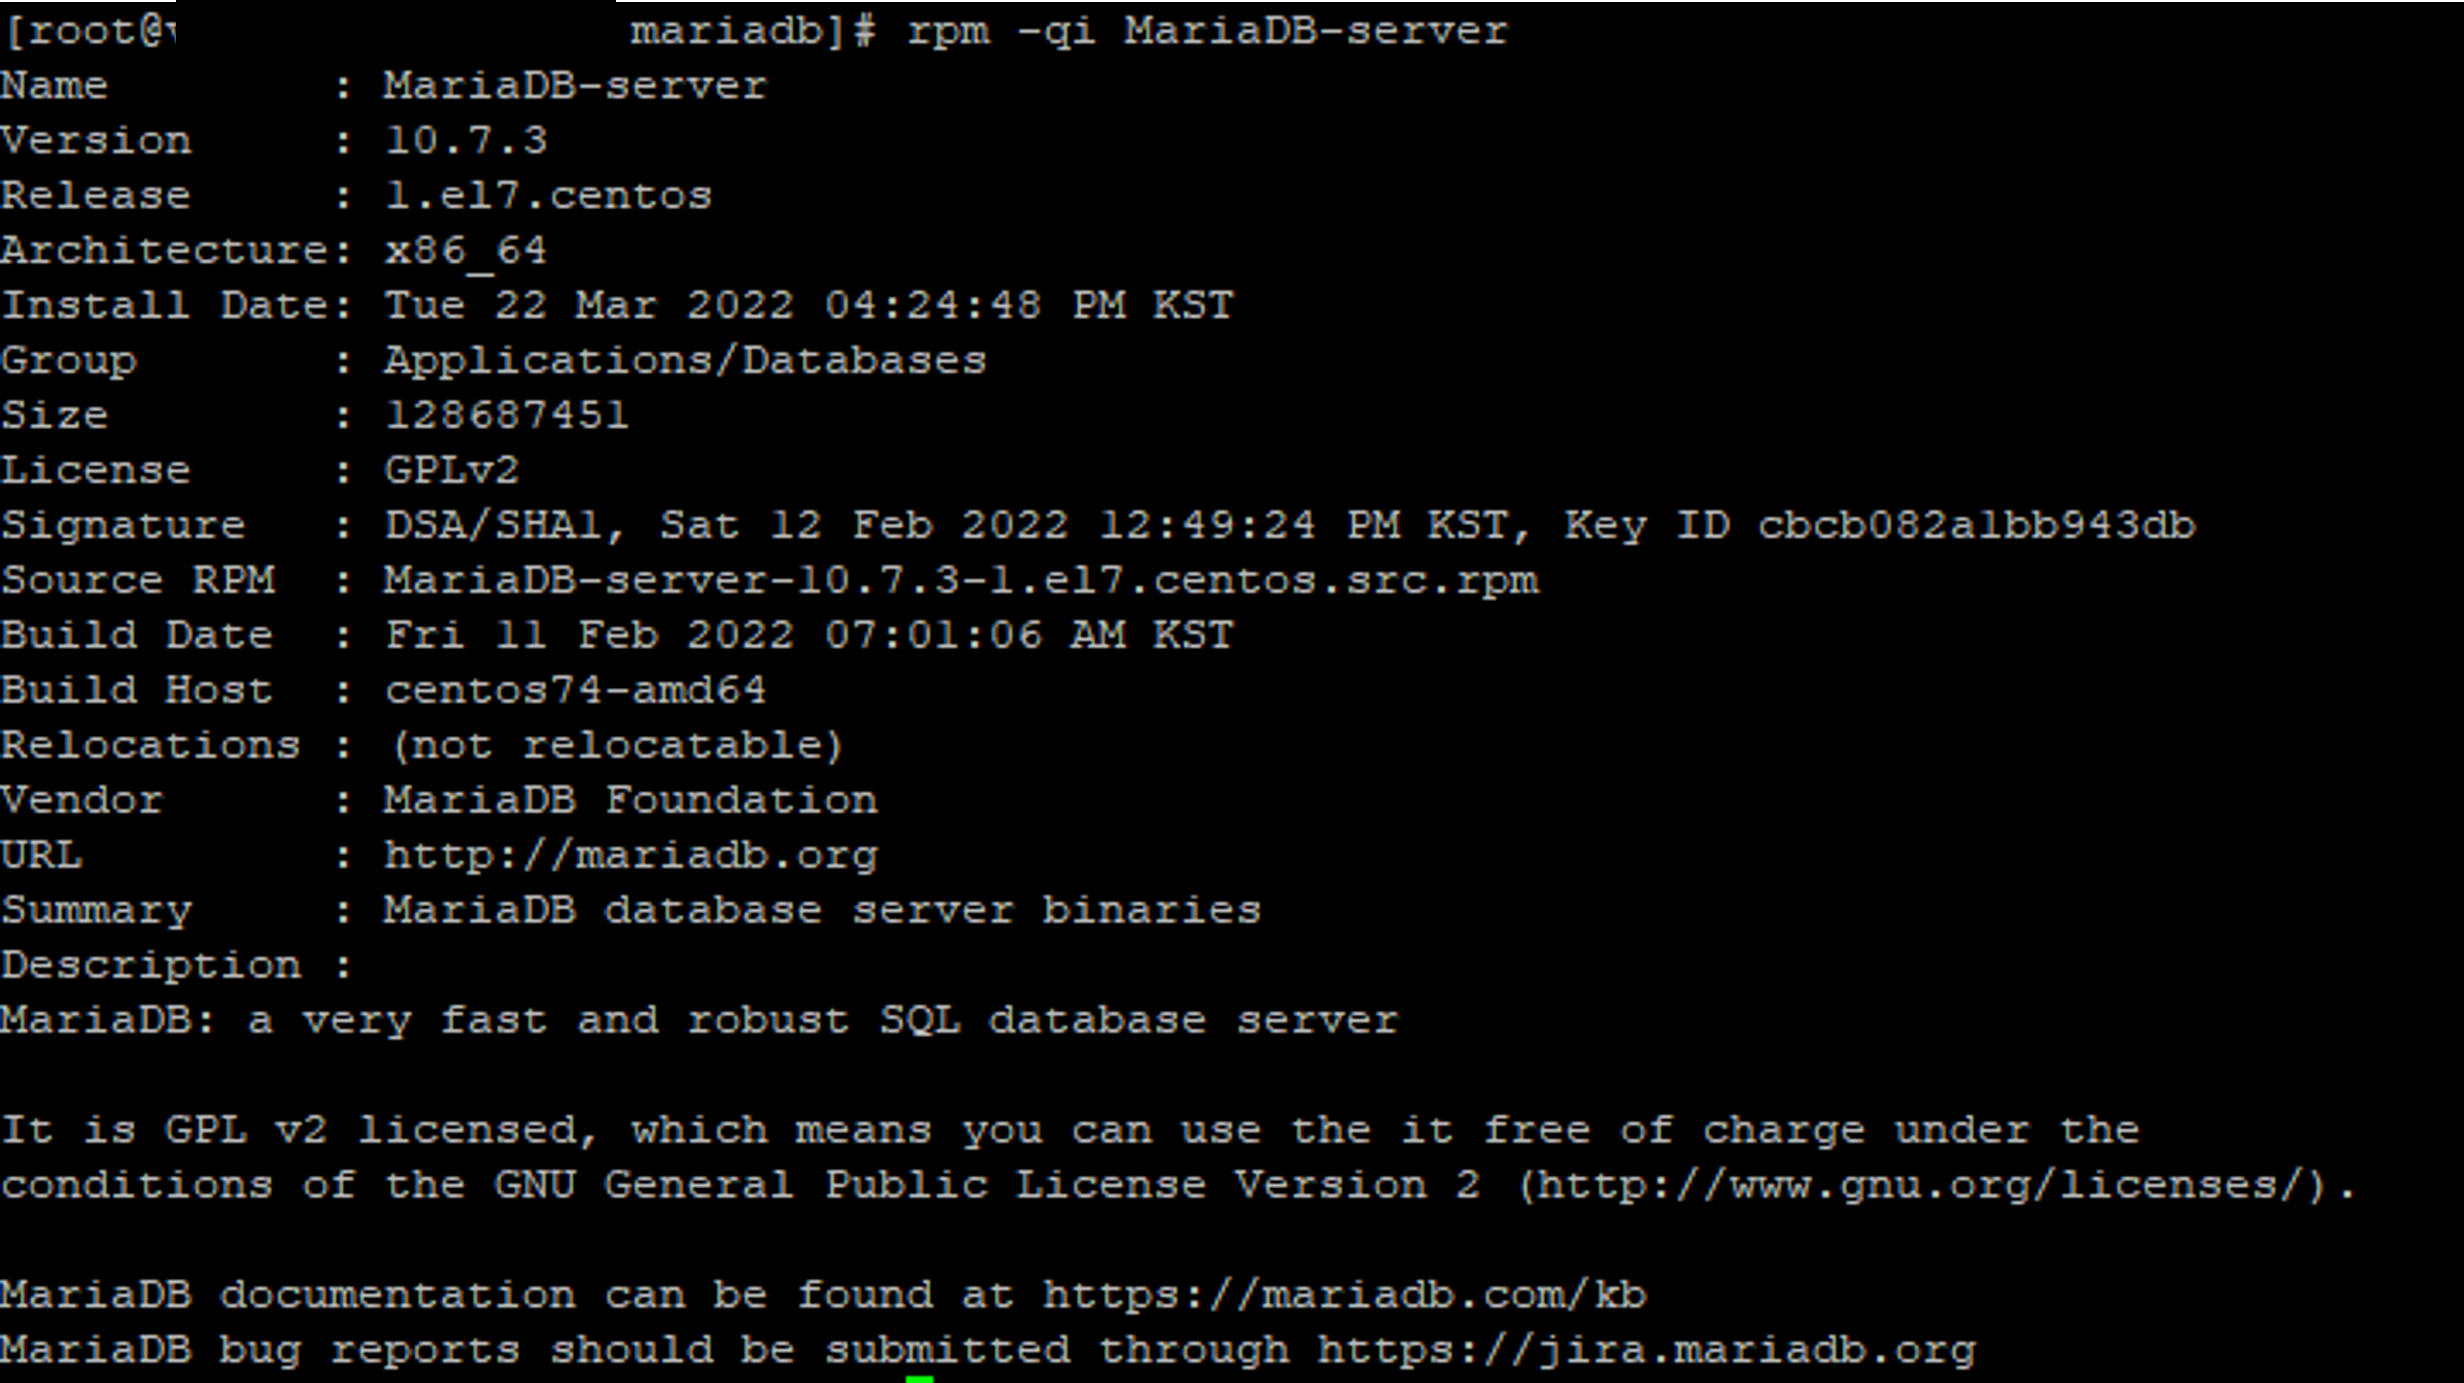
MariaDB 서비스 등록
# systemctl enable --now mariadb
MariaDB 보안설정
보안설정을 진행하기 위해 "mysql_secure_installation" 스크립트를 수행
# mysql_secure_installation

Command not found 가 나오는 경우,
# mariadb-secure-installation| NOTE: RUNNING ALL PARTS OF THIS SCRIPT IS RECOMMENDED FOR ALL MariaDB SERVERS IN PRODUCTION USE! PLEASE READ EACH STEP CAREFULLY! In order to log into MariaDB to secure it, we'll need the current password for the root user. If you've just installed MariaDB, and haven't set the root password yet, you should just press enter here. Enter current password for root (enter for none): << Just Press Enter as password is not set yet OK, successfully used password, moving on... Setting the root password or using the unix_socket ensures that nobody can log into the MariaDB root user without the proper authorisation. You already have your root account protected, so you can safely answer 'n'. Switch to unix_socket authentication [Y/n] n << Type n to disable socket authentication ... skipping. You already have your root account protected, so you can safely answer 'n'. Change the root password? [Y/n] Y << Type Y to set MariaDB root Password New password: << Enter MariaDB root Password Re-enter new password: << Confirm MariaDB root Password Password updated successfully! Reloading privilege tables.. ... Success! By default, a MariaDB installation has an anonymous user, allowing anyone to log into MariaDB without having to have a user account created for them. This is intended only for testing, and to make the installation go a bit smoother. You should remove them before moving into a production environment. Remove anonymous users? [Y/n] Y << Type Y to remove anonymous users ... Success! Normally, root should only be allowed to connect from 'localhost'. This ensures that someone cannot guess at the root password from the network. Disallow root login remotely? [Y/n] Y << Type Y to disable root login remotely ... Success! By default, MariaDB comes with a database named 'test' that anyone can access. This is also intended only for testing, and should be removed before moving into a production environment. Remove test database and access to it? [Y/n] Y << Type Y to remove test database - Dropping test database... ... Success! - Removing privileges on test database... ... Success! Reloading the privilege tables will ensure that all changes made so far will take effect immediately. Reload privilege tables now? [Y/n] Y << Type Y to reload previllege table ... Success! Cleaning up... All done! If you've completed all of the above steps, your MariaDB installation should now be secure. Thanks for using MariaDB! |
Check & Log in Test MariaDB
# mysql -u root -p

Semaphore 설치
RPM 파일 다운로드
(Proxy 상황이라면, wget -e use_proxy=yes -e https_proxy=<proxy ip>:<port> https://github.com/ansible-semaphore/semaphore/releases/download/v2.8.53/semaphore_2.8.53_linux_amd64.rpm)
Ansible Semaphore 설치
# yum install semaphore_2.8.53_linux_amd64.rpm
Semaphore 설정 setup
# semaphore setup
|
Hello! You will now be guided through a setup to:
1. Set up configuration for a MySQL/MariaDB database 2. Set up a path for your playbooks (auto-created) 3. Run database Migrations 4. Set up initial semaphore user & password What database to use: 1 - MySQL 2 - BoltDB 3 - PostgreSQL (default 1): 1 db Hostname (default 127.0.0.1:3306): db User (default root): db Password: semaphore << Enter MariaDB Password db Name (default semaphore): Playbook path (default /tmp/semaphore): /semaphore/workspace << Type PlayBook Path Web root URL (optional, see https://github.com/ansible-semaphore/semaphore/wiki/Web-root-URL): Enable email alerts? (yes/no) (default no): Enable telegram alerts? (yes/no) (default no): Enable LDAP authentication? (yes/no) (default no): Generated configuration: { …. } Is this correct? (yes/no) (default yes): yes Config output directory (default /root/semaphore): /semaphore << Semaphore Config File Path Running: mkdir -p /semaphore.. Configuration written to /semaphore/config.json.. Pinging db.. Running db Migrations.. { …. } Migrations Finished > Username: semaphore > Email: semaphore@example.com WARN[0287] no rows in result set level=Warn > Your name: semaphore << Web ID > Password: semaphore << Web Password You are all setup semaphore! Re-launch this program pointing to the configuration file ./semaphore server --config /semaphore/config.json To run as daemon: nohup ./semaphore server --config /semaphore/config.json & |
Semaphore web 서비스 Port 변경
# vi /semaphore/config.jsonSemaphore의 Default Web Port는 3000 입니다.
서비스 포트를 3000 > 8080 으로 변경하려고 합니다.
| { ….. "dialect": "mysql", "port": "8080", "interface": "", "tmp_path": "/semaphore/workspace", ….. } |
Semaphore 서비스 시작
# semaphore service --config=/semaphore/config.json
Semaphore 웹 접근
http://<server ip>:8080

Semaphore 설치 완료!!!
추가로!
Semaphore 서비스등록(CentOS 7) - Run as Service
/path/to/semaphore = semaphore 실행파일 위치 (ex. /usr/bin/semaphore)
/path/to/config.json = 설정파일 경로 지정 (ex. /semaphore/config.json)
| sudo cat > /etc/systemd/system/semaphore.service <<EOF [Unit] Description=Semaphore Ansible Documentation=https://github.com/ansible-semaphore/semaphore Wants=network-online.target After=network-online.target [Service] Type=simple ExecReload=/bin/kill -HUP $MAINPID ExecStart=/path/to/semaphore service --config=/path/to/config.json SyslogIdentifier=semaphore Restart=always [Install] WantedBy=multi-user.target EOF |
Semaphore 서비스 등록 및 실행
# systemctl daemon-reload
# systemctl start semaphore
Semaphore 서비스 자동 실행 등록
# systemctl enable semaphore'IT Knowledge > IaC' 카테고리의 다른 글
| Ansible Semaphore 2.8.53 LDAP 연동 (1) | 2022.03.25 |
|---|---|
| Ansible Semaphore 2.8.53 사용법 (2) | 2022.03.25 |
| Ansible GUI 솔루션(Tower, Semaphore, AWX) (2) | 2022.03.21 |
| Ansible Python 버전 업그레이드 2.7 to 3.6 (0) | 2021.08.10 |
| Python upgrade 2.7 to 3.6(CentOS 7) (0) | 2021.08.10 |


댓글